If you did a Vectrex game and are thinking about also doing a manual for it – I will list here the things I did to get some good looking vectorimages of the game objects – using Vide and some other tools.
Step 1 – get a vectorlist
There are several ways to get a Vectorlist.
- You used vecci to create your objects – than you already have nice vectorlist
- You can import your vector data in vecci – using the import feature
- You can make a vector-screenshot while running the game in vecxi, and use that “screenshot” in vecci as a whole or cut/copy/paste the parts you want
Since the first two possibilities are really straight forward – I skip them here.
Vector-Screenshot
In dissi you can at any time do a vector-screenshot using the button:

Running vecxi in its “default” settings might render slighty “off” vectors, since vecxi emulates e.g. drift.
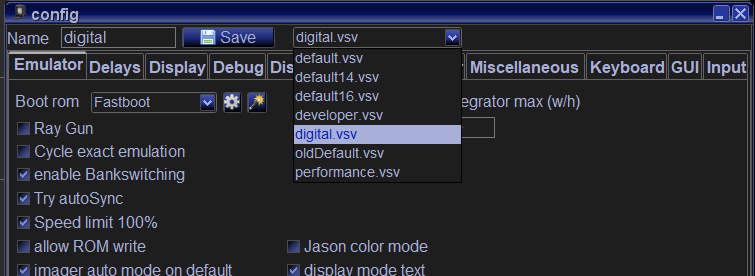
For nice straight vectors my suggestion at this point is, that you switch the configuration to “digital” – all special kind of emulations (which are more life-like) are switched off.
You can either configure digital yourself by switching of “all” features – or use the pre saved configuration setting “digital”:
Now…
Select the game you would like to play, like:
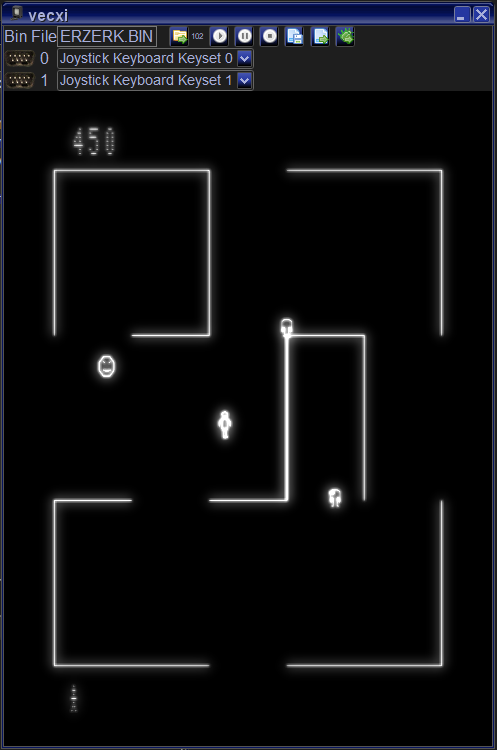
Do a screenshot:
And load it in vecci, the screenshot was written to your xml directory – filename is the running binary with a counter number:
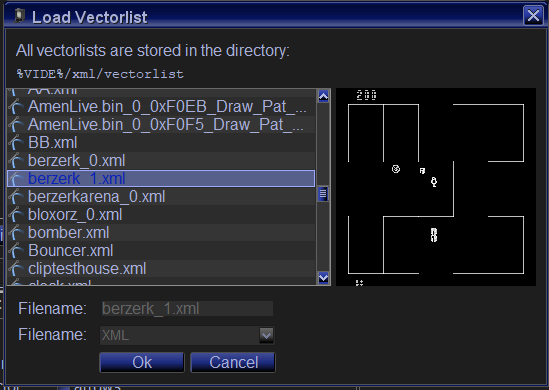
Resulting in a “screen shot” editable in vecci:

Zoomed a little bit, so we can discern the “sprite” area:
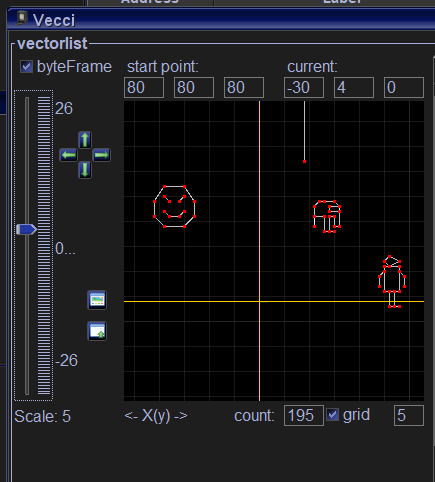
For now, let’s say we are interested only in Otto:
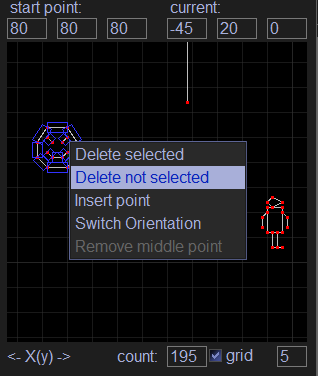
So we cut the rest out…
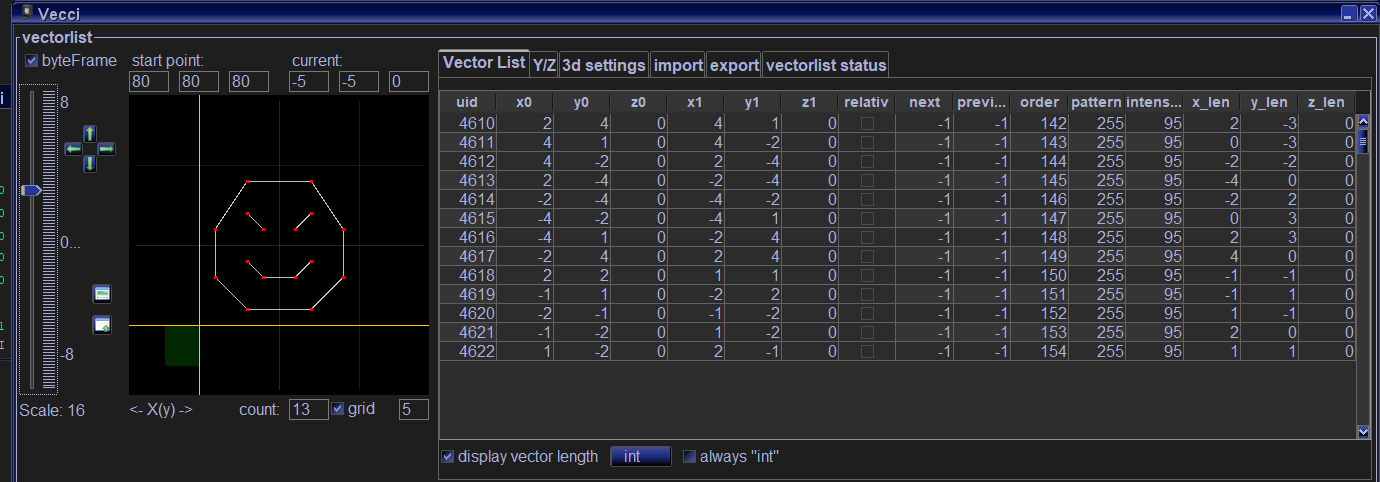
Now we have a nice vectorlist, which we can process further…
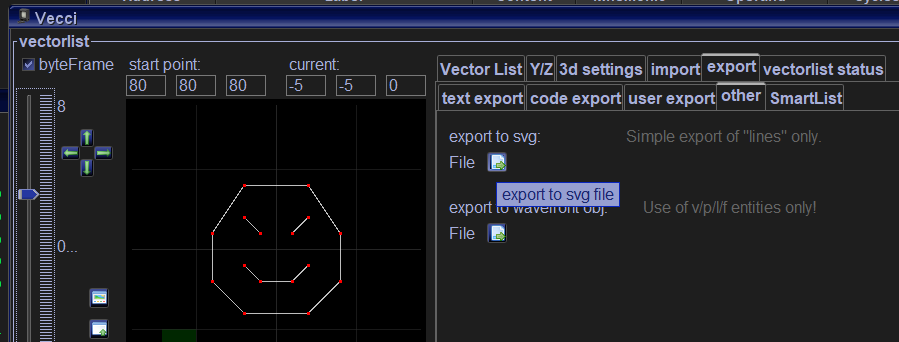
Step 2 – export vectorlist to SVG
This is straight forward. Although vide does not really support all svg stuff – it is enough to export some lines…
(export is again done to the “xml/vectorlist/” directory)
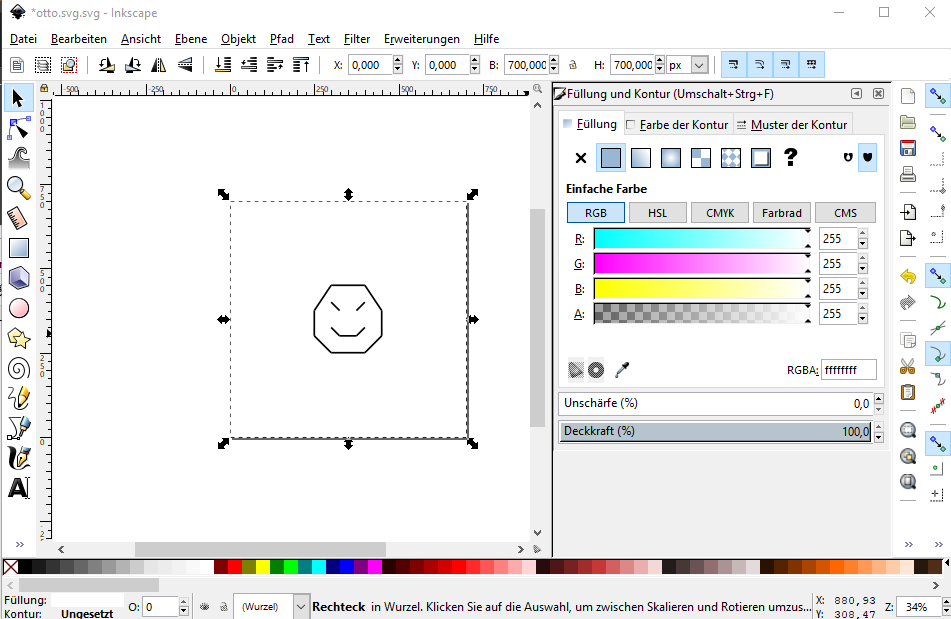
Step 3 – import SVG in some Vector drawing program (other than Vide)
For me the FREE program of choice is Inkscape.
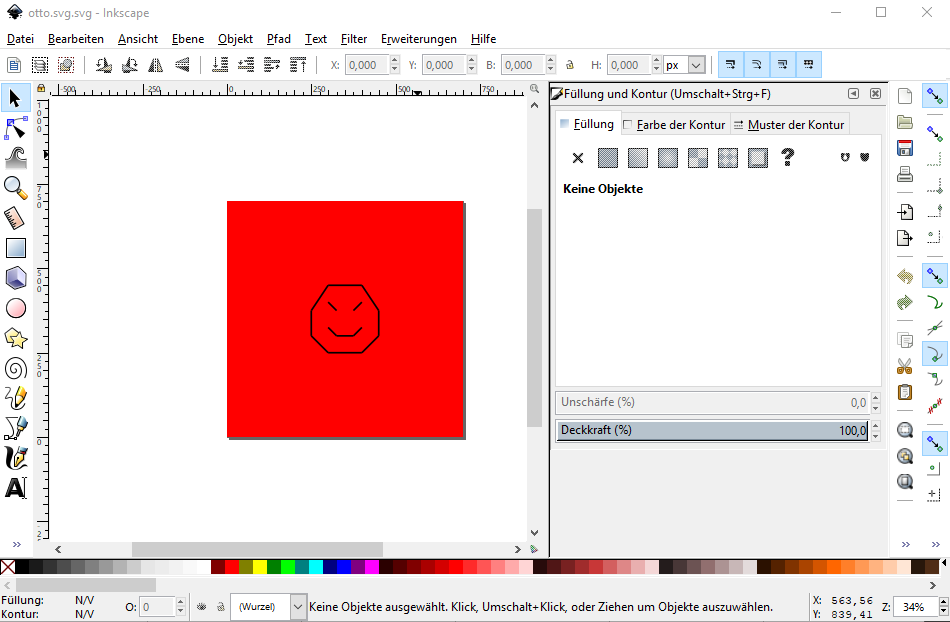
Yeah… I know – doesn’t look too nice… I know – but we can work with it!
some steps to make it look better:
a) background color – white:
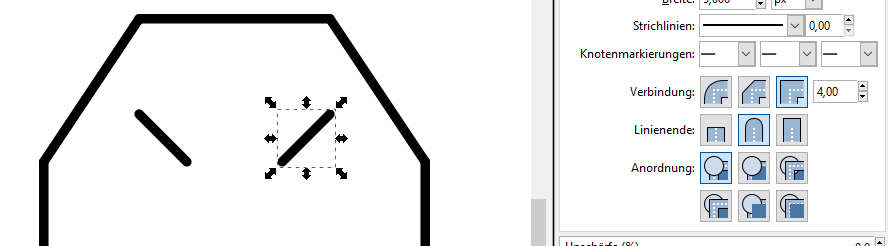
b) zooming in, you will see, that the lines are “rectangles”…
We want nice “rounded” lines…

We mark all lines and switch to the tab “Muster der Kontur” (German) – whatever that is in English 😉 …

And switch the Linienende (line end) to the rounded one:
(if needed you can also change the line width)
Step 4 – using the image
Now you can use the image further in your publishing program.
You can use the vector data – or convert it to a raster image.
Personally I either export it with Inkscape:

Or I just do a screenshot and “import” it with my image processing program.
Step 5 – GIMP
For the example to continue – I open the above generated image in GIMP:
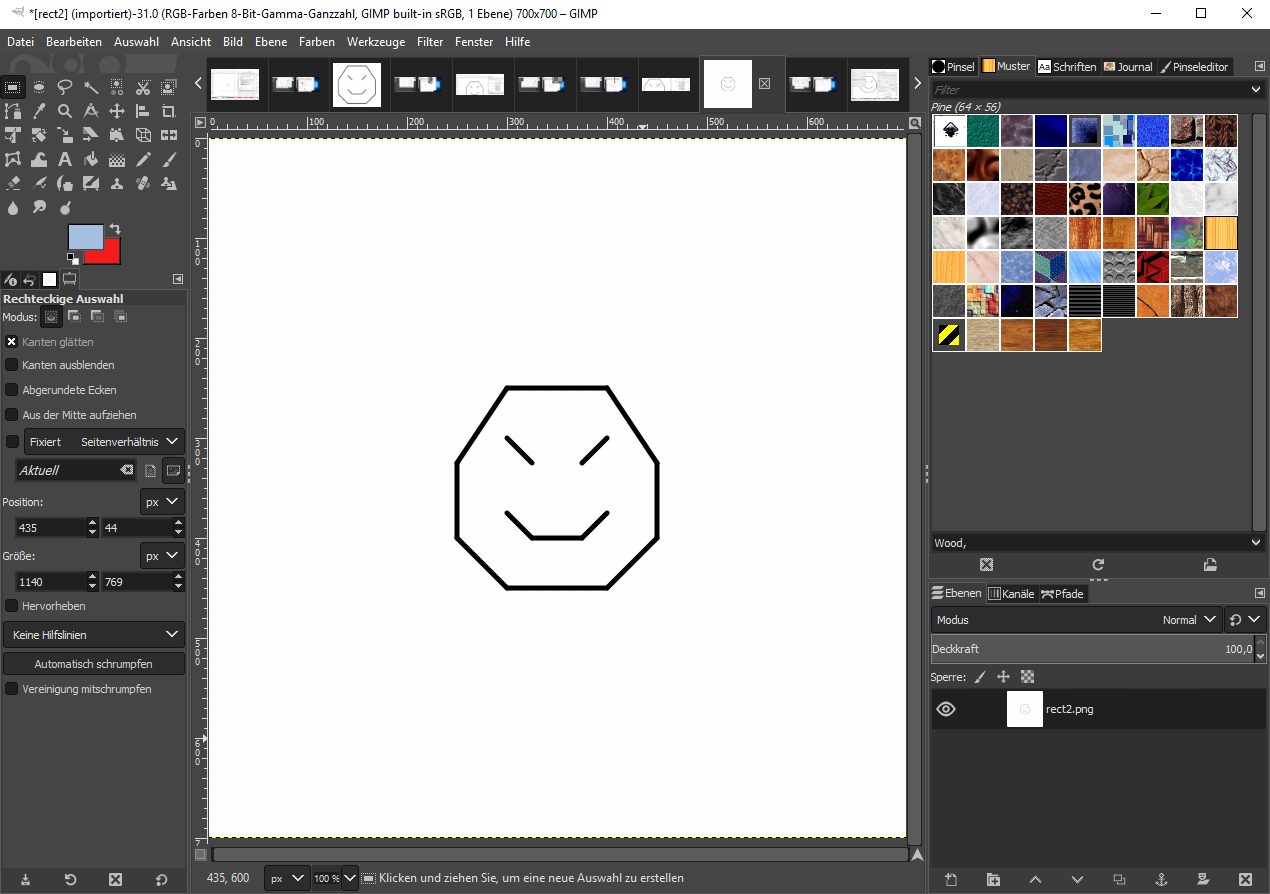
What I did for Vectorblade…
– I made the background transparent,
– changed the line color to white
– added Gauß-diffusion
– and added the result to my “black” manual

That is a great idea. I have been using Inkscape a lot lately. I even used it in the opposite way a few weeks ago by saving an .SVG file and creating a line list with it.
… this is typically Malban 🙂
I asked him a rather short question by email, and he provides a fully fledged and detailed graphical tutorial!
Many thanks buddy!
Cheers,
Peer